TL;DR
Hi, this is Debugger ready to debug Mobile Application.
In this blog I will share how I have intercepted the traffic of Flutter based iOS application for dynamic analysis, Also we will see the root detection and SSL verification bypass method I have used.
TL;DR Quote
Before trying to break any logic, It is always a plus point to understand how that stuff is actually works and implemented.
Introduction
As Flutter uses dart, Dart is not proxy aware and uses its own certificate store. Hence, The application doesn’t take any proxy settings from the system and sends data directly to server, because of this we cannot intercept the request using Burpsuite or any MITM tool, so changing the proxy settings in wifi or trusting any certificate won’t help here.
Questions:
So what we can do in this situation?
There are multiple approches here to intercept the traffic:
Thought 1:
SSH into your iOS device and use iptables to redirect the traffic.
Note: iptables won’t work in iOS device as it requires kernel support.
Approche 1:
Create a WIFI hotspot using a second WIFI adapter and use iptables to redirect all traffic to Burp.
Approche 2:
Using OpenVPN to create a tunnel and use iptables to redirect all the traffic to Burp.
You can read about this all approches in details using nviso blog.
I have used Approche 2 to intercept the traffic on the application I am working on.
Pre-Requisites:
- Jailbroken iOS device.
- Burp Suite up and running.
- OpenVPN application installed in your iOS device.
- Liberty - Root detection bypass Cydia Repo.
- Filza - To extract ipa from iOS device Cydia Repo
- Your system and mobile device must be connected to same wifi network.
- Must have Frida installed in your system as well as in iOS device.
- Must have Ghidra or any binary analyzer tool pre installed in your system.
Let’s Get Started:
A. First install OpenVPN application to the iOS device from app store:

B. Install Your Flutter application to iOS device:
As the application has jailbreak detection implemented, Hence when we start application it will crash on splash screen.
To bypass the jailbreak detection we can use Liberty. You can install Liberty from Cydia using Source repo
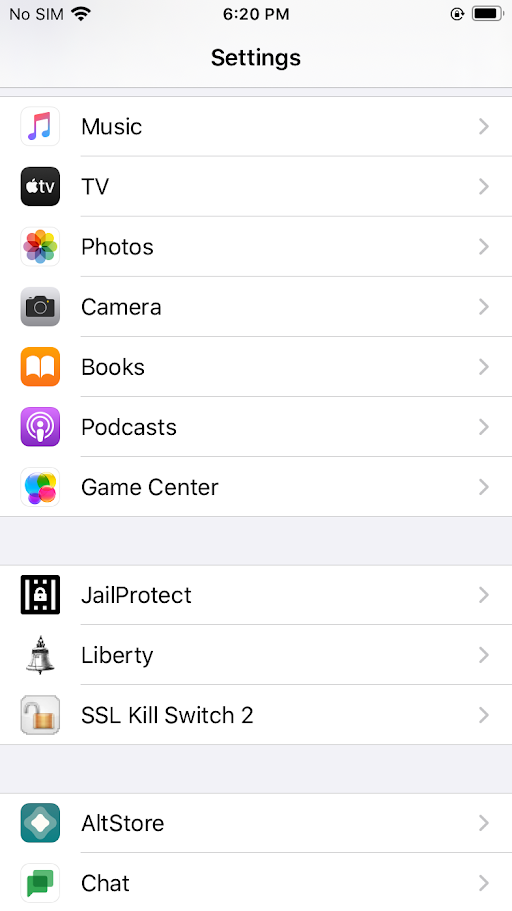
i. Once you have installed Liberty, Go to your device Settings and scroll down a little and you can see the Liberty app in it.
ii. Click on Liberty -> Block Jailbreak Detection -> select the desired application of which we wanted to bypass the jailbreak detection.
C. Now we can run the app in jailbroken device, let’s move ahead.
Brief Process:
- We are going to create one OpenVPN connection file, Configure it in our iOS device using OpenVPN application and stablish the connection.
- Using Iptable command we will route the device traffic through our system.
- find and analyze the binary which contains the SSL verification code.
- Using frida we will bypass the SSL verification implementation.
Let’s go step by step with the process:
-
Create OpenVPN file to connect:
Use below command to download one script which helps us in creating OpenVPN file as per our need.
Script: https://github.com/Nyr/openvpn-install> sudo wget https://git.io/vpn -O openvpn-install.sh > sudo sed -i "$(($(grep -ni "debian is too old" openvpn-install.sh | cut -d : -f 1)+1))d" ./openvpn-install.sh > sudo chmod +x openvpn-install.sh > sudo ./openvpn-install.shAfter running Scripts Select Below options:
Which IPv4 address should be used?
> Select option of your system IP. i.e. 192.168.1.118

Public IPv4 address / hostname []:
> Provide your system IP i.e. 192.168.1.118

Protocol [1]: 1
Port [1194]: 1194
DNS server [1]: 1
Name [client]: debugger_test
And Press enter. OpenVPN file will be created at /root/debugger_test.ovpn
- Adding OpenVPN file to device:
Run python http server using below command in your system and download the ovpn file to your device.> python3 -m http.server 8081 --directory /root/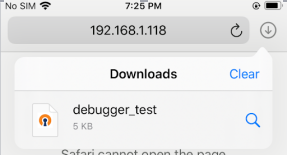
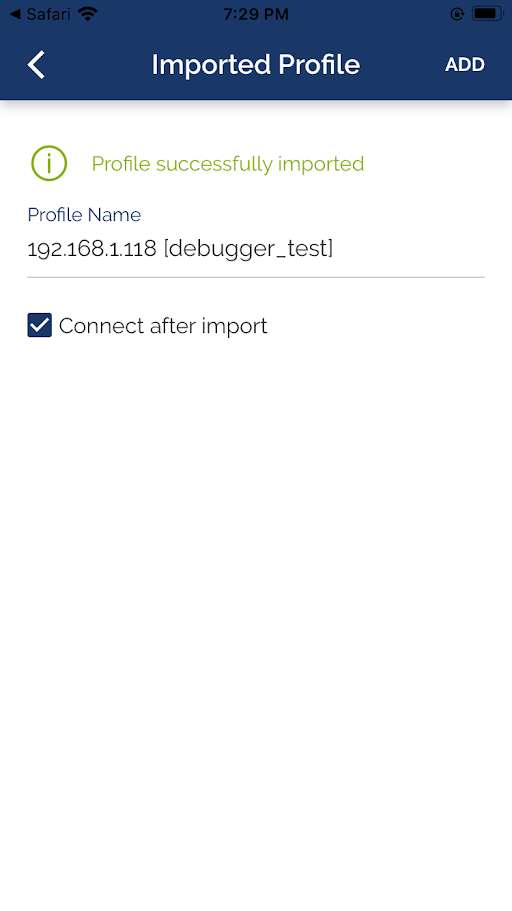
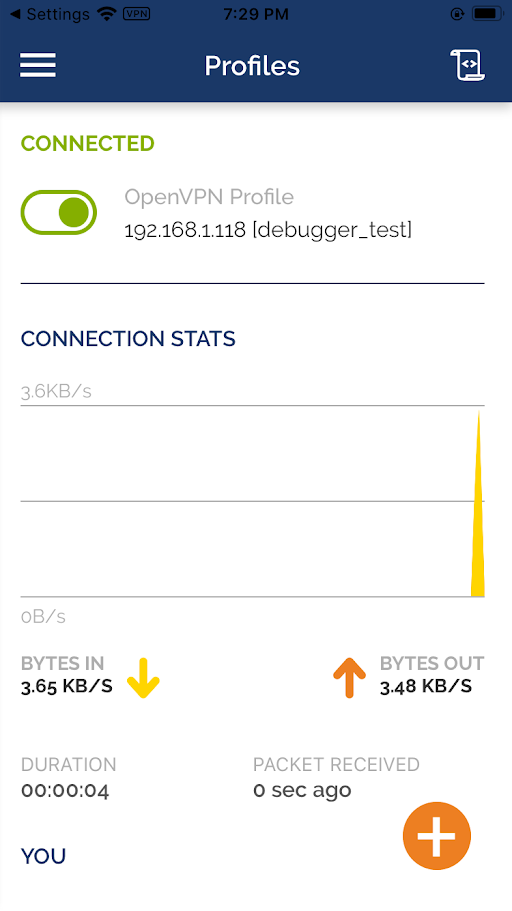
Open the downloaded ovpn file using OpenVPN, configure and connect to it.
Note: You can start openvpn in your system through below command:> sudo service openvpn start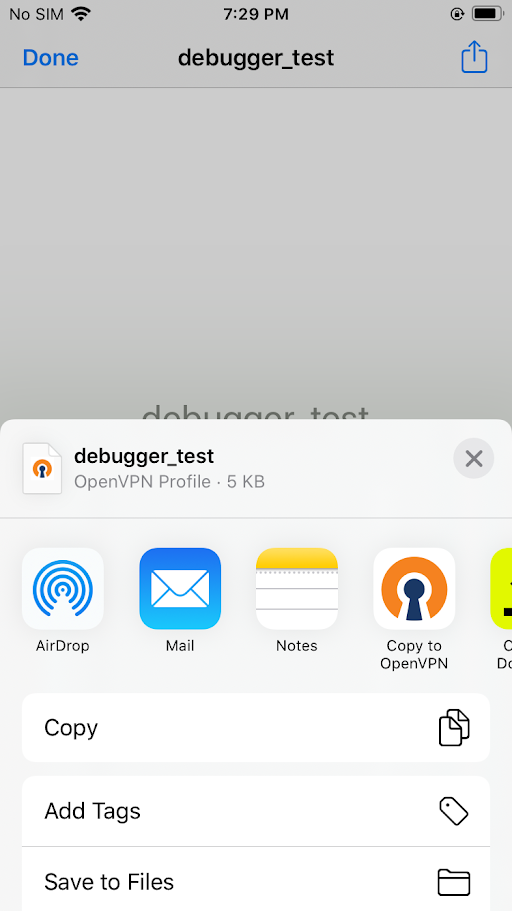
- Route the traffic and burp proxy configuration:
Run below commands to route the traffic from your iOS device through your system.
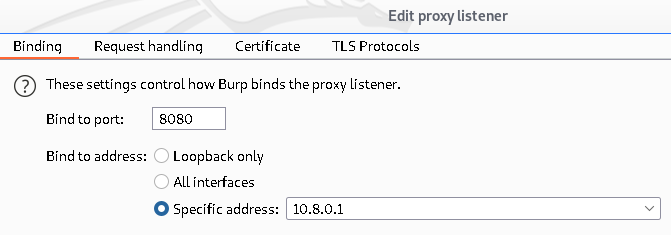
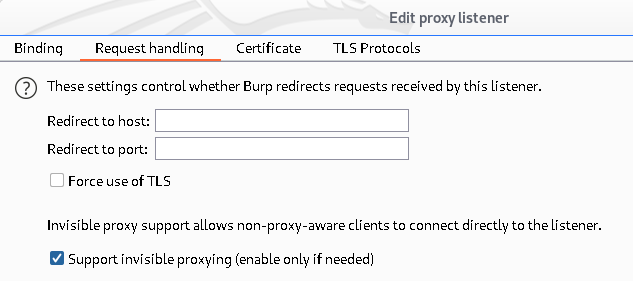
Note: In the last command the provided IP is your iOS device IP i.e. 192.168.1.101.> sudo iptables -t nat -A PREROUTING -i tun0 -p tcp --dport 80 -j REDIRECT --to-port 8080 > sudo iptables -t nat -A PREROUTING -i tun0 -p tcp --dport 443 -j REDIRECT --to-port 8080 > sudo iptables -t nat -A POSTROUTING -s 192.168.1.101/24 -o eth0 -j MASQUERADEOnce all done open burpsuite proxy tab and configure it as below:
-
Identified SSL verification implemented using x509.cc.
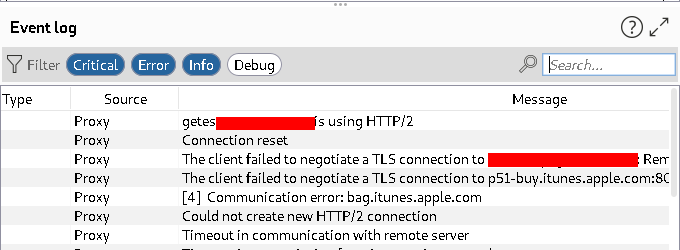
Run the application and observe the burpsuite dashboard -> Event logs.
We got TLS handshake error, Hence we can not intercept https traffic.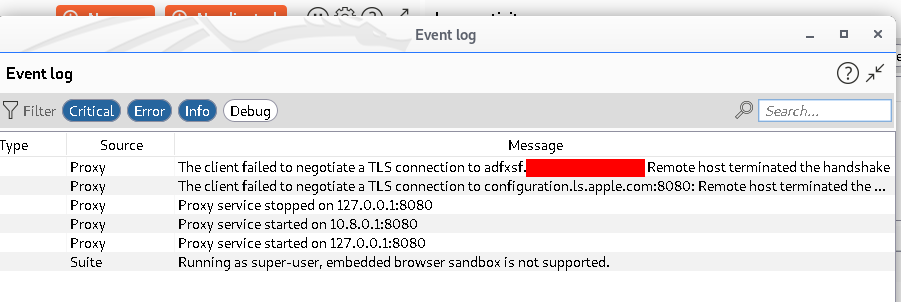
-
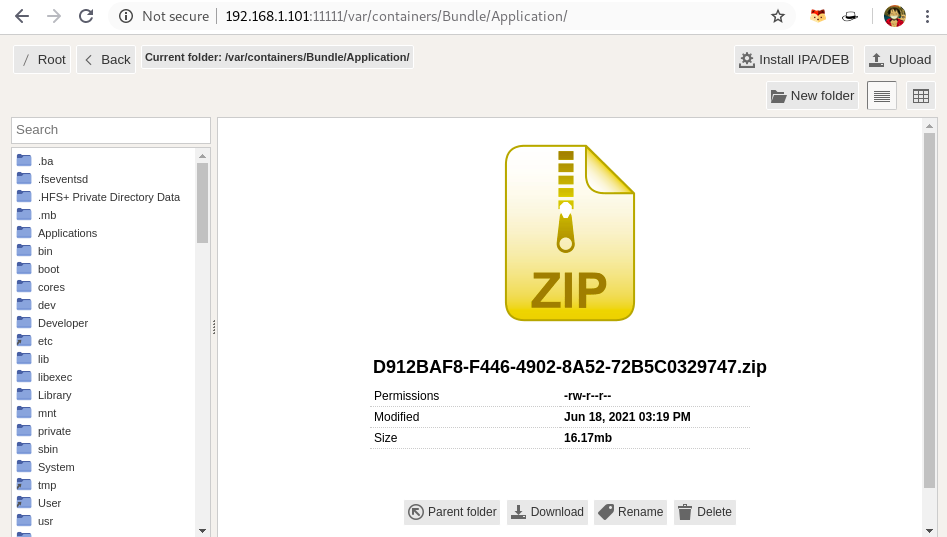
Use the Filza to download the application folder from iOS device.
You can install Filza from Cydia using Source repoStart the WebDAV server of Filza from settings and Access it through your system browser by accessing http://<Your_mobile_IP>:11111.
Note: Make sure your phone and system are connected to same wifi network.In your phone open Filza and navigate to: /var/containers/Bundle/Application/
Observe the screen and create a zip of your application folder, you can do it by long press on the folder.In browser Filza, access to same path and download the zip file.
Note: If we install the application directly from appstore, the application has encryption flag enabled. Hence to proceed with the binary analysis we first need to decrypt the application binary, For that you can use Clutch Or Frida-ios-dump.
-
Extract Zip in your system and open it up through Terminal:
Binary: /Runner.app/Frameworks/App.framework/App
This contains application flutter code.Binary: /Runner.app/Frameworks/Flutter.framework/Flutter
This contains the x509.cc SSL verification code.And to bypass the SSL verification we have to analyze the Flutter binary.

-
Install Ghidra and dissemble the Flutter binary.
Binary path Runner.app/Framworks/Flutter.framework/Flutter
Start Ghidra and drag and drop the Flutter binary to it, select all default details.
Wait for ghidra to complete the analysis process.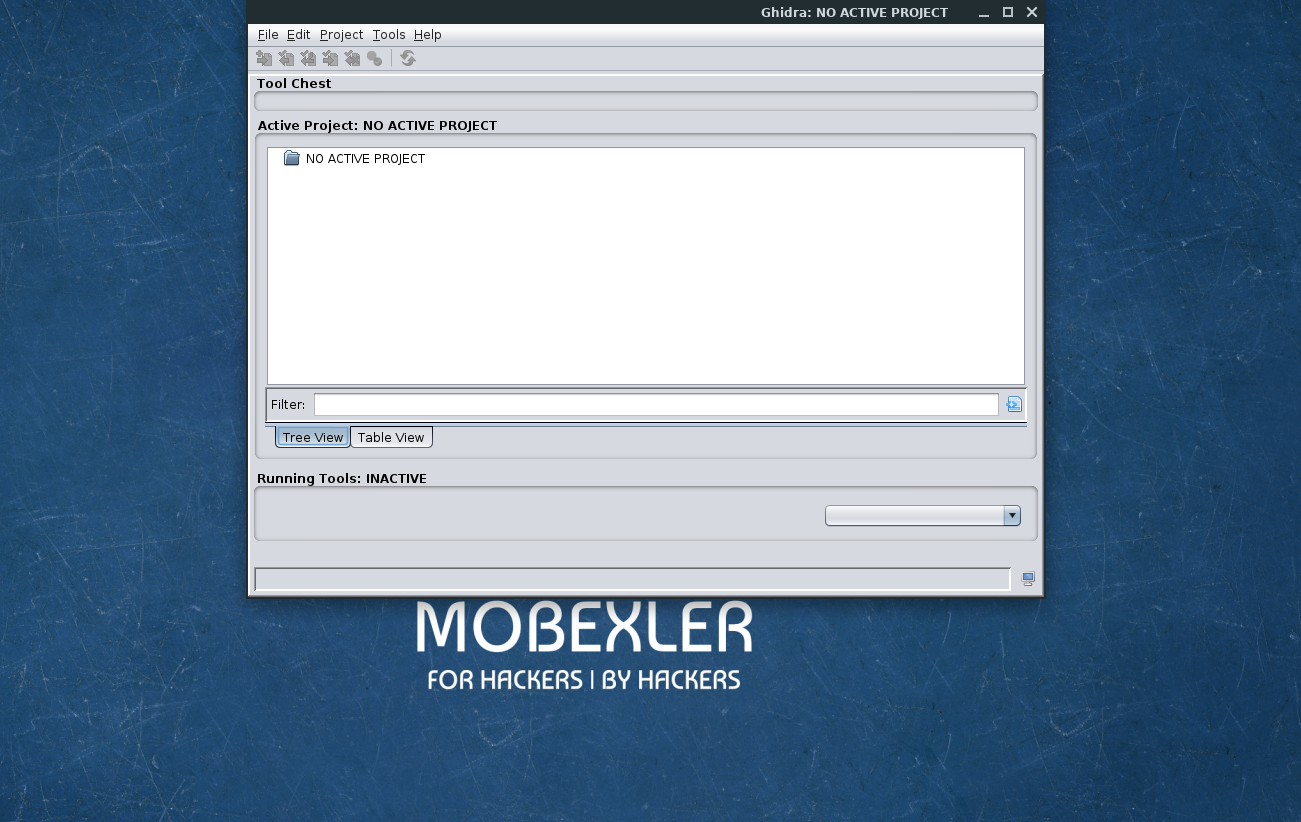
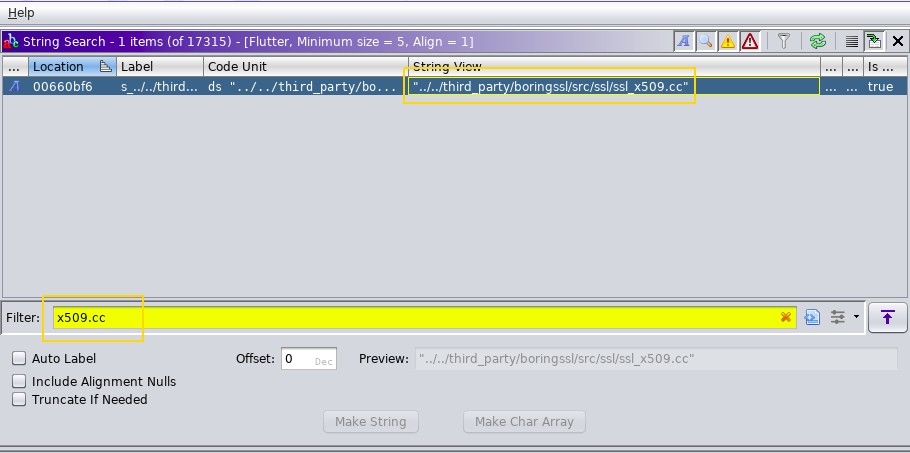
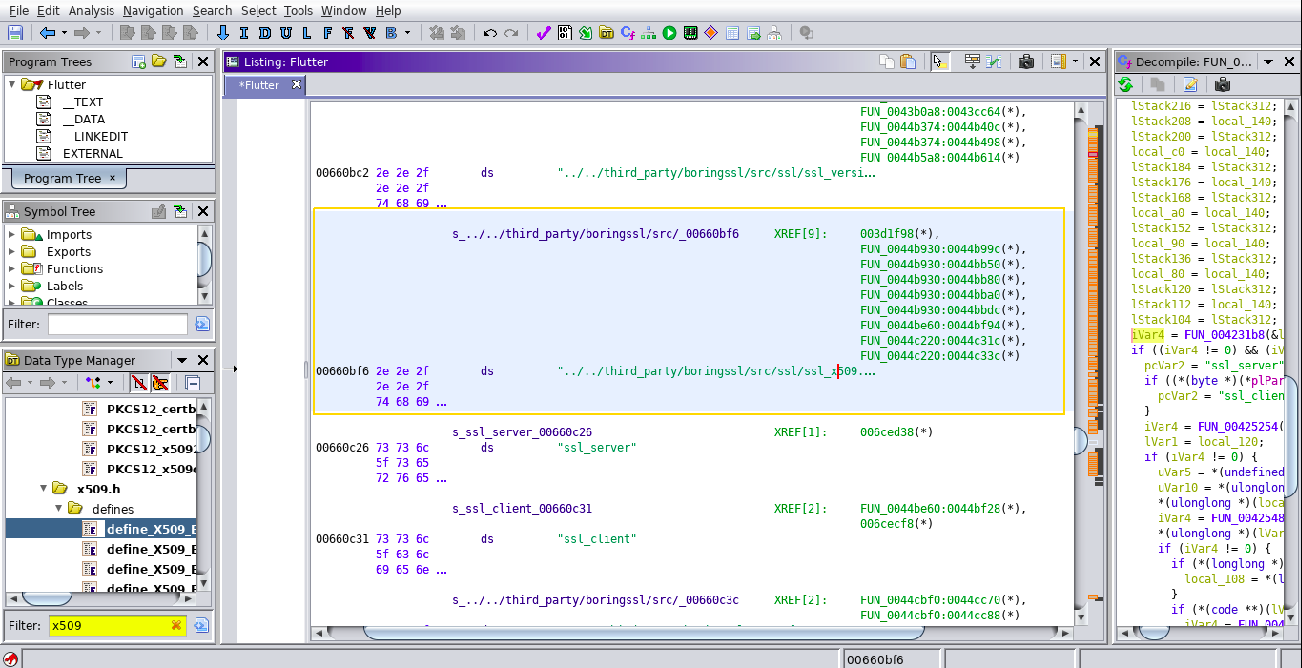
Once Analysis is completed search for x509.cc string:
Also perform Scalar search for Magic number 0x186. To understand what is this magic number in details I suggest you should read this blog by nviso Team.

Click on the output you got from string search of x509.cc and you will moved to the address directally.
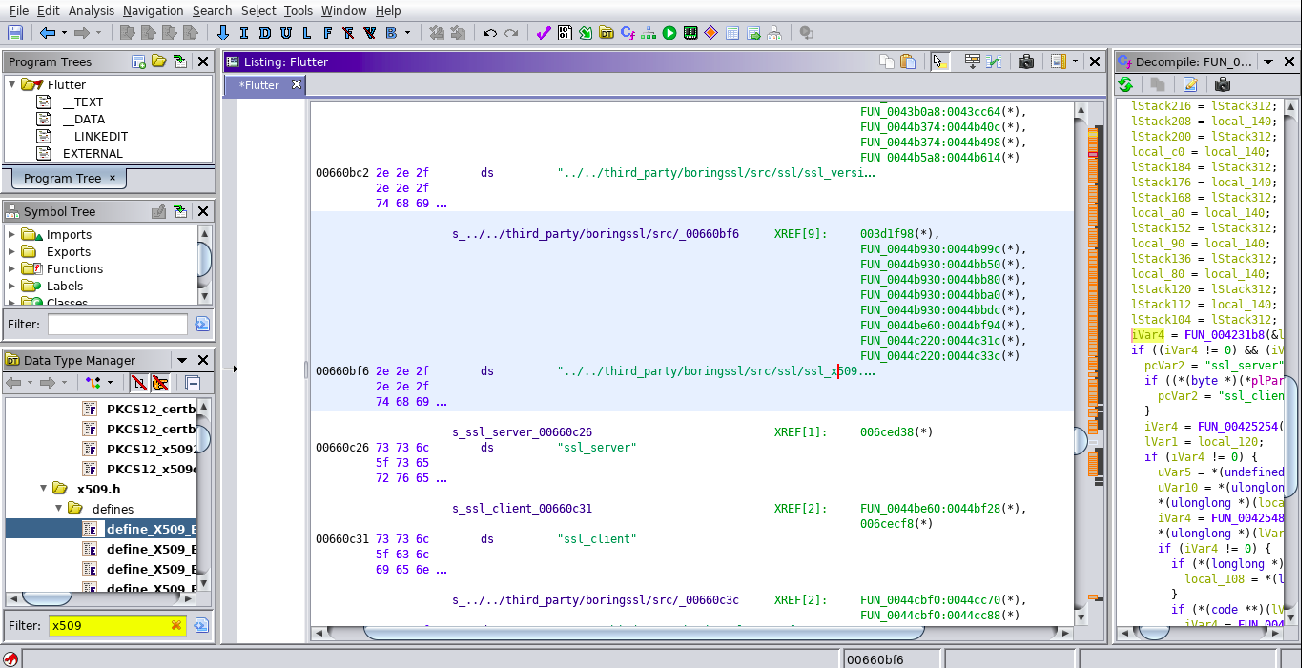
As we can see, we have multiple XREF[0] against the x509.cc line. We have to identify the valid function address, For that we will take help of our scalar search output which we have done previosly.
Map scalar search near to the x509.cc output and observe that one address we found in scalar search is in the range of the XREF[0] we got for x509.cc.
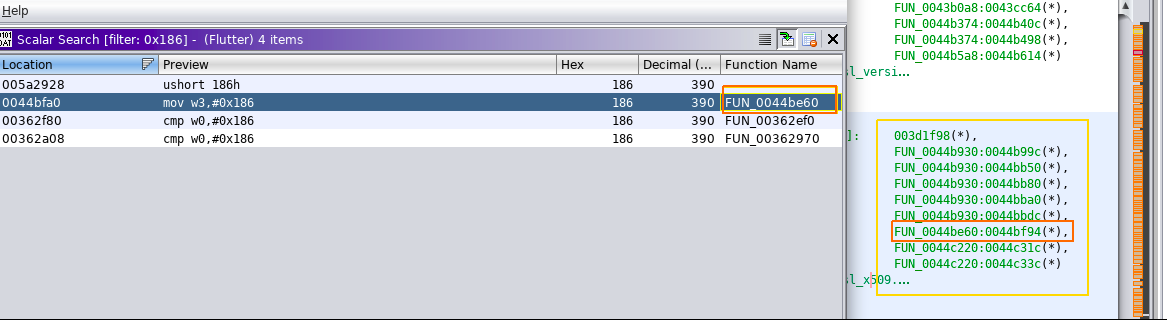
Click on that address range FUN_0044be60:0044bf94(*) and Observe the initial bytes value of FUN_0044be60. Copy those bytes:
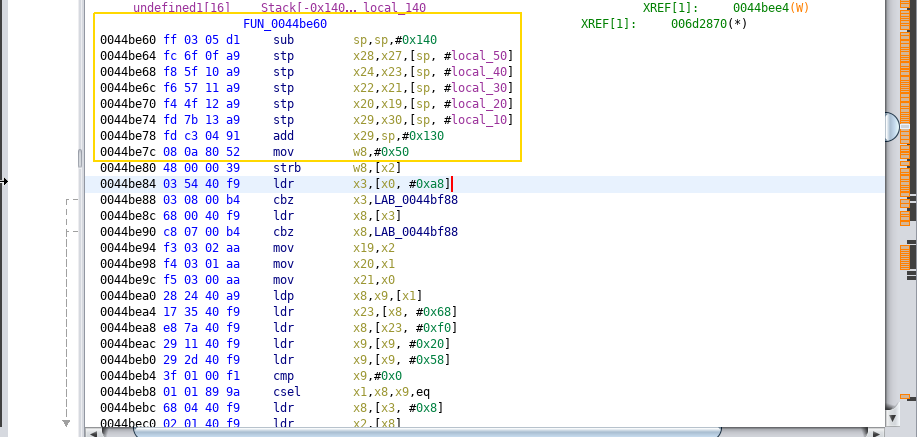
Copy the inital bytes as below and send to binwalk for offset count if needed.

Replace the address value in the below frida script as a pattern variable.
function hook_ssl_verify_result(address)
{
    Interceptor.attach(address, {
    onEnter: function(args) {
        console.log("Disabling SSL validation")
    },
    onLeave: function(retval)
    {
        retval.replace(0x1);
    }
    });
 }
function disablePinning()
{
   var pattern = "ff 03 05 d1 fc 6f 0f a9 f8 5f 10 a9 f6 57 11 a9 f4 4f 12 a9 fd 7b 13 a9 fd c3 04 91 08 0a 80 52"
   Process.enumerateRangesSync('r-x').filter(function (m)
   {
      if (m.file) return m.file.path.indexOf('Flutter') > -1;
      return false;
   }).forEach(function (r)
   {
      Memory.scanSync(r.base, r.size, pattern).forEach(function (match) {
      console.log('[+] ssl_verify_result found at: ' + match.address.toString());
      hook_ssl_verify_result(match.address);
     });
   });
 }
setTimeout(disablePinning, 1000)
Connect mobile using USB with your system and run frida-ps -Uai
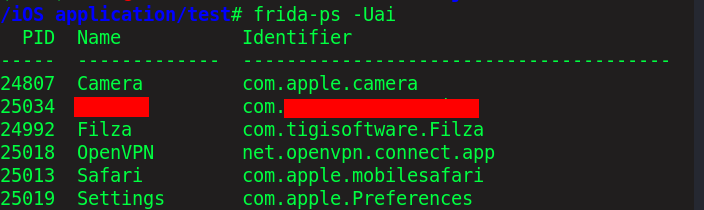
Run frida script to your application package Name using below command:
> frida –Uf `package` -l `Bypass script` --no-pause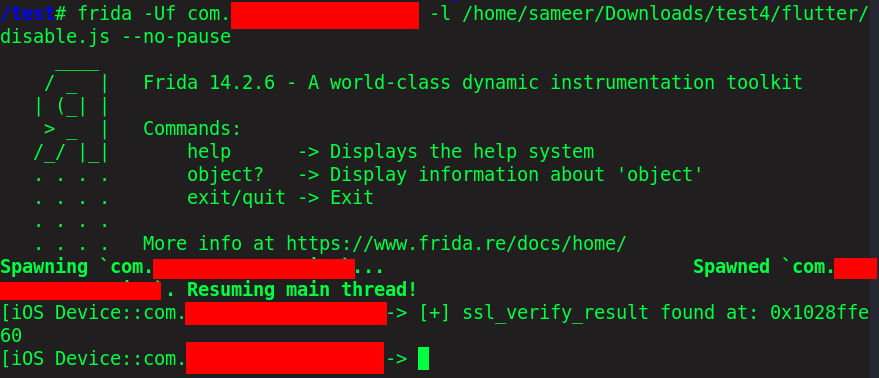
Perform some activity in the application and check back to burp to see the requests from app being intercepted now:

Conclusion:
This blog was to share how I have bypassed the security implementation of an iOS application, and how I have intercepted the traffic of flutter iOS application. As the method for the same is different compare to what we actually do in mobile application testing to intercept the traffic.
I enjoyed writing this article and hope you find this useful.
Thank you for your time and stay tuned for more!
You can find me here:
Twitter : @sameer_bhatt5
Github : bhattsameer
LinkedIn: bhatt-sameer
![]()
Reference:
Huge Thanks to Nviso Team.
https://blog.nviso.eu/2020/06/12/intercepting-flutter-traffic-on-ios/
![]()