TL;DR
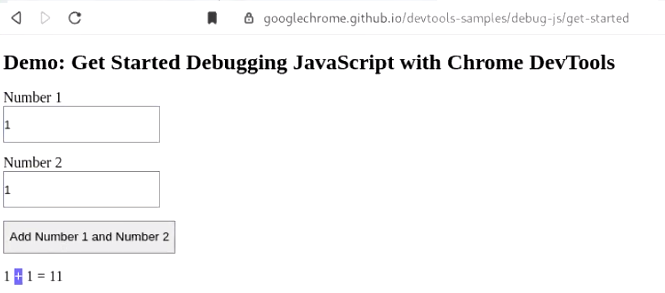
Hi, this is Debugger ready to debug JavaScript.
In this blog, we will continue from where we left off Part-1 and Part-2 of Client-Side Encryption Bypass series. We will see - how to create script using the application’s encryption logic to fuzz encrypted parameters? We will mainly focus on the use of snippet and console feature of DevTools.
TL;DR Quote
Debugger is always your BestFriend.
Introduction
Before we get started, I would strongly recommend you to checked out the part-1 and Part-2, if you haven’t.
In part-1 we went through the steps to break the encryption mechanism. Sometimes, breaking encryption logic is not good enough to be able to perform pentesting on each and every parameter. To do that debugging process is required each time to modify value of a parameter at run time, before encryption fuction get called. However, it becomes a necessary evil since the process is done manually.
In Part-2 we saw some tools that can help save debugging time. Tools that come handy while dealing with the encrypted data. We will cover a few of them here as well.
Until now we have been doing this whole process manually, but is there a way to automate this process? Where the decryption/encryption would be performed automatically on each and every parameters along with payloads at the run-time? Is it possible to analyse the responses when this request is sent to the Server?
Well, Yes! It is possible. However, to automate this process requires great observation skills, a presence of mind and ready-to-solve kind of mindset i.e. you need to be skilled debugger. But, don’t worry if you are just starting out for I am here to guide you. :))
Let’s get Started! For automation of the encryption process, you can use the vulnerable lab application.
Now to automate this process, we require a few things:
- Encryption logic (Global encryption method from JavaScript code, that we will use in our custom code).
- Encryption Key: If the encryption key is hard-coded which is great! it is pretty common too. :)) But if it isn’t, you will need global logic for encryption-key generation.
- Basic knowledge of JavaScript to write custom code.
- Chrome browser with snippet in working condition.
To clarify the aforementioned points:
- Why I mentioned global methods or global logic?
Sometimes, the scope of code is limited to a set of block only, which means - if you are out of that block or scope, you can’t run that method in console.
For example:
In the sample code below, we can not run the generate_new_key out of the scope of the block. So we need to use methods or code which we can run out of the code block and to make our custom code run independently.function method_name(key, data){ generate_new_key = aes.key(key); encrypted_data = aes.encrypt(data, generate_new_key); }Note: If the method of key generation and encryption logic is not available globally, we can still use this process while debugging.
a.) Insert debug points inside the code block, once the debugging starts, execution is paused.
b.) We can now call all those local methods in the console as well as in the snippet. - Snippet:
We have already discsussed about snippet in our Part-2 of Client-side Encryption Bypass series. You can refer it in case of any confusion. We will write our custom code in this snippet and run it in the DOM of current application then, use the application’s encryption logic to automate this process.
You can find my snippet collection here: devtool-snippets-forhacks.
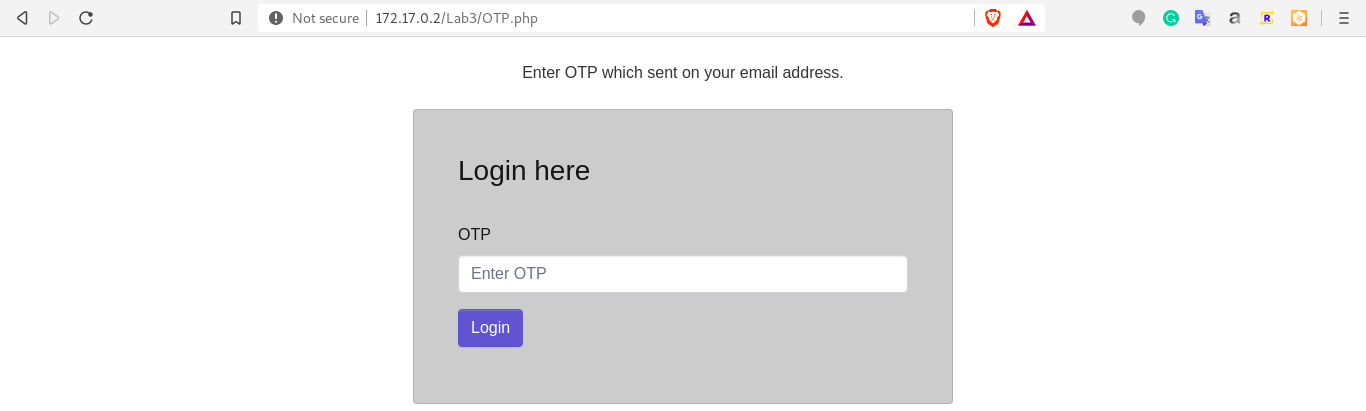
From the vulnerable web application, we will see how to fuzz the OTP parameter. As we already know, that when we enter valid OTP we are redirected to the dashboard page. But When we enter wrong OTP, we get “Access Denied”. The OTP parameter is encrypted in both the request and response body.
After following the methodology from Part-1, we successfully retrieved the Encyption Logic:
Method name : otplogear()
File Name : ExternalCustom.js
Code block:
function otplogear(){
  var mykey = "myKey123"
  otpEncrypt = CryptoJS.AES.encrypt( $("#otp").val(), mykey, {format: CryptoJSAesJson} );
  $.post("otpvalidate.php",{
    otp: otpEncrypt.toString()
  },
  function(res){
    var data2 = CryptoJS.AES.decrypt(JSON.stringify(res), mykey, {format: CryptoJSAesJson}).toString(CryptoJS.enc.Utf8);
    var data = JSON.parse(data2);
    var a = data[10];
    $("#message").html(data.slice(23,36));
    if(a == 1)
      window.location.href="my_account.php";
  },"json");
From above code block:
- Encryption Method: CryptoJS.AES.encrypt( $(“#otp”).val(), mykey, {format: CryptoJSAesJson} );
i.) $(“#otp”).val() => data
ii.) mykey => Encryption key
iii.) {format: CryptoJSAesJson} => Format of CryptoJs Encryption - Encryption Key: mykey = “myKey123”
Few points from request structure:
- Request Method: Post
- Parameter Name: otp
- URL: http://172.17.0.2/Lab3/otpvalidate.php
To create our automatation script, lets assemble all the parts:
A. Creating a method payloads() for textarea where we can add the payloads. We will create a key:value pair for this. This block of code will be same for the encryption logic as we are just creating a textarea where we can simply supply the payloads:
//For our payloads:
function payloads(){ // method payloads()
var x = document.createElement("textarea");  // create an element for textarea.
x.setAttribute('id', 'payloads');  // creating keyvalue pairs.
document.body.appendChild(x); // for all the payloads.
}
Note: We can create an array for payloads as well.:))
B. Creating a method fuzz() which contains the main fuzzing logic:
// Fuzzing logic:
function fuzz(){   // method fuzz()
var textArea = document.getElementById('payloads'); //fetching all payloads
var lines = textArea.value.split('\n'); // spilt them with \n its like pressing enter at the end of each payload
C. Logic to automate the encyption process:
for (var j = 0; j < lines.length; j++) { // for loop till we have passed all the payloads to parameter

// write your logic here...
console.log('Payload: ' + lines[j]);                  // printing payload in console.

  // your AES Key and IV
  var mykey = "myKey123";        // AES Key currently we know the key and it is same for all encryption, if it dynamic we can pass method here.

  //Call encryption method
  otpEncrypt = CryptoJS.AES.encrypt( lines[j], mykey, {format: CryptoJSAesJson} ); //This is the encryption method which we have passed here. lines[j] = payload.

  //Encrypted Payload
  console.log('Encrypted Payload: ' + otpEncrypt); //printing out the otpencrypt with our payloads
D. Creating a post request for otpvalidate.php:
  //Prepare post request
  $.post("otpvalidate.php",{   // making a post request on otpvalidate.php
    otp: otpEncrypt.toString()  // passing encrypted data to otp parameter.
  },
E. Since the response is encrypted, let’s create a logic to handle the response which decrypts the parameter at run-time.
From the original code-block:
- Encryption Method: CryptoJS.AES.decrypt(JSON.stringify(res), mykey, {format: CryptoJSAesJson}).toString(CryptoJS.enc.Utf8);
i. JSON.stringify(res) => encrypted_response_data
ii. mykey => Encryption key
iii. {format: CryptoJSAesJson} => Format of CryptoJs Encryption - Encryption Key: mykey = “myKey123”
  //Handle Response and decrypting the response method
  function(res){   // method to handle response.

    //Call Decrypt method
    var data2 = CryptoJS.AES.decrypt(JSON.stringify(res), mykey, {format: CryptoJSAesJson}).toString(CryptoJS.enc.Utf8); // decrypting the response
    var data = JSON.parse(data2);

    //Decrypted response
    console.log(data);   // printing decrypted response in console
 }.json);
    //sleep
    sleep(3000);  // adding a little to each request
}
F. Creating a code-block for time delay.
// sleep function
function sleep(milliseconds) {  // Making a method sleep()
  var start = new Date().getTime();
  for (var i = 0; i < 1e7; i++) {
    if ((new Date().getTime() - start) > milliseconds){
      break;
    }
  }
}
}
Step to use the code in snippet:
-
Start vulnerable lab docker and navigate to http://172.17.0.2/Lab3/login.php.
Enter valid credentials to reach OTP.php page.
-
Fire up the devtools and create a snippet fuzzit in source tab:
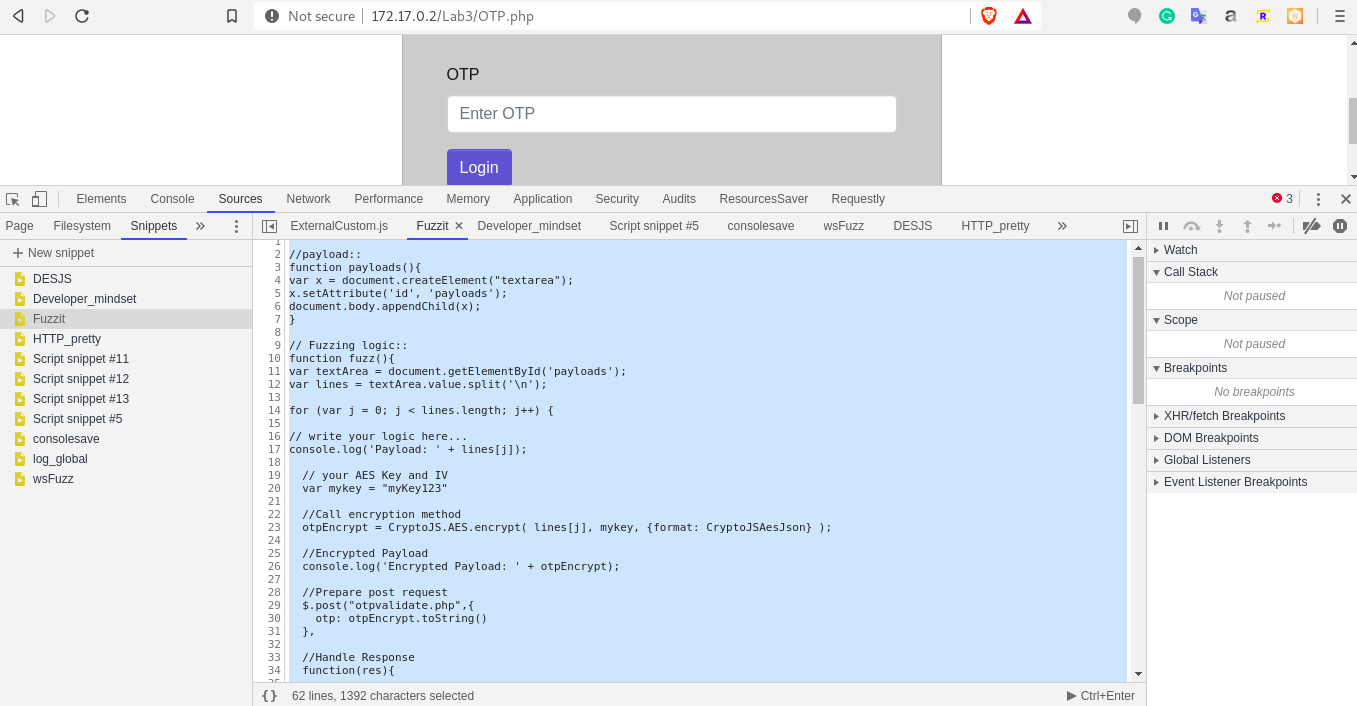
-
Execute the snippet using “Ctrl + Enter” or by using the Run snippet button.
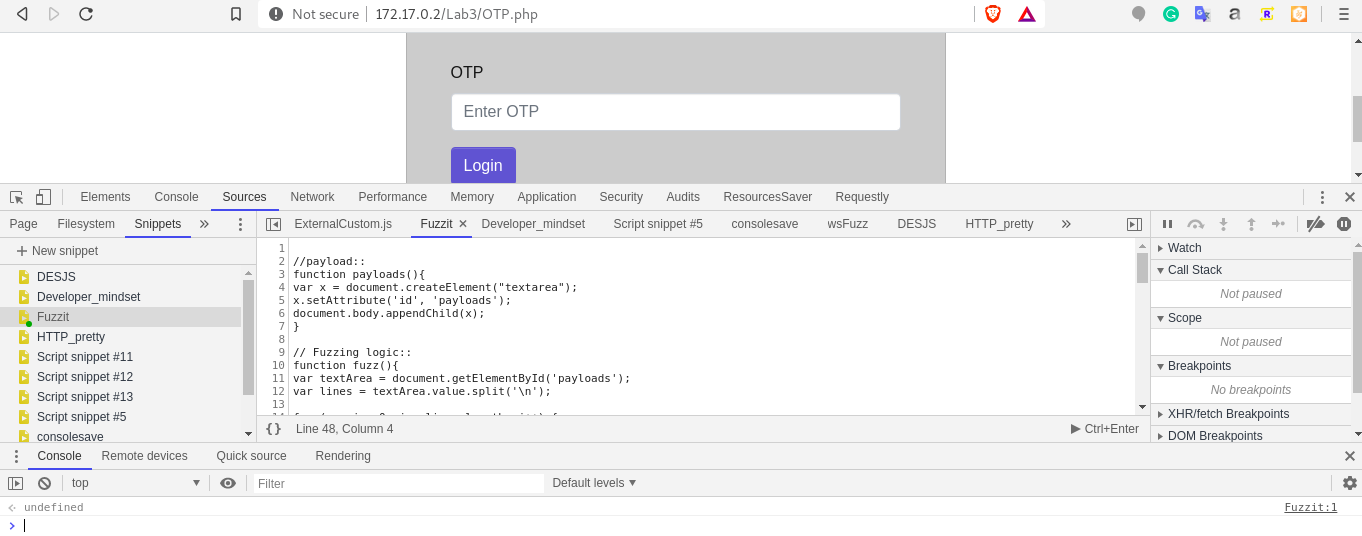
-
Navigate to console, run payloads() and observe in browser as a textarea is created.
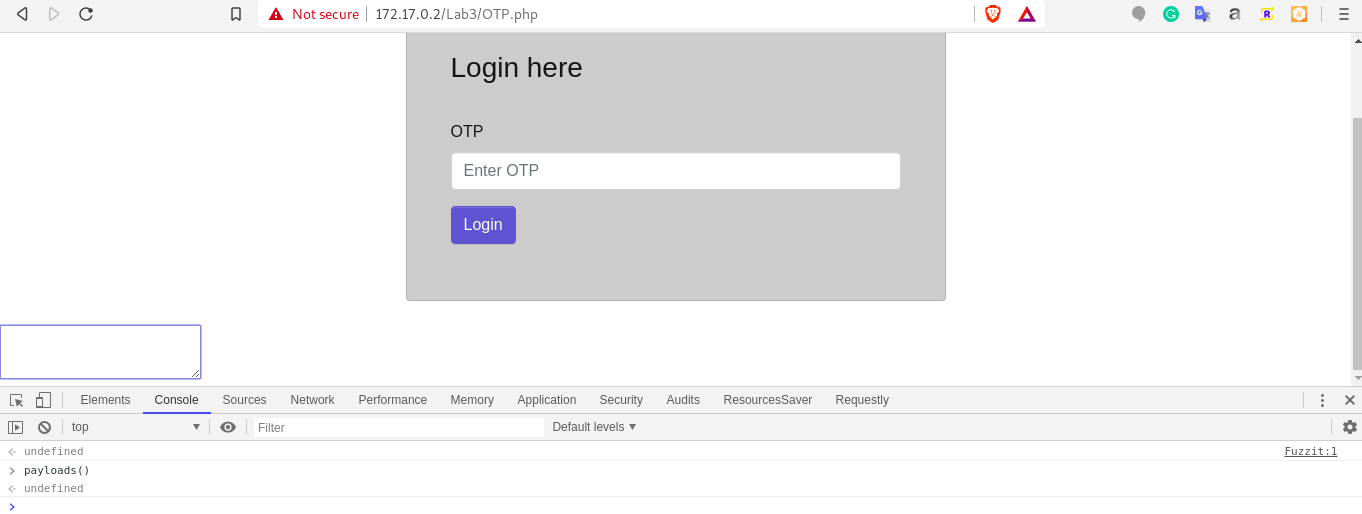
-
Enter all your payloads in the textarea and run fuzzit() in console. Observe the console.
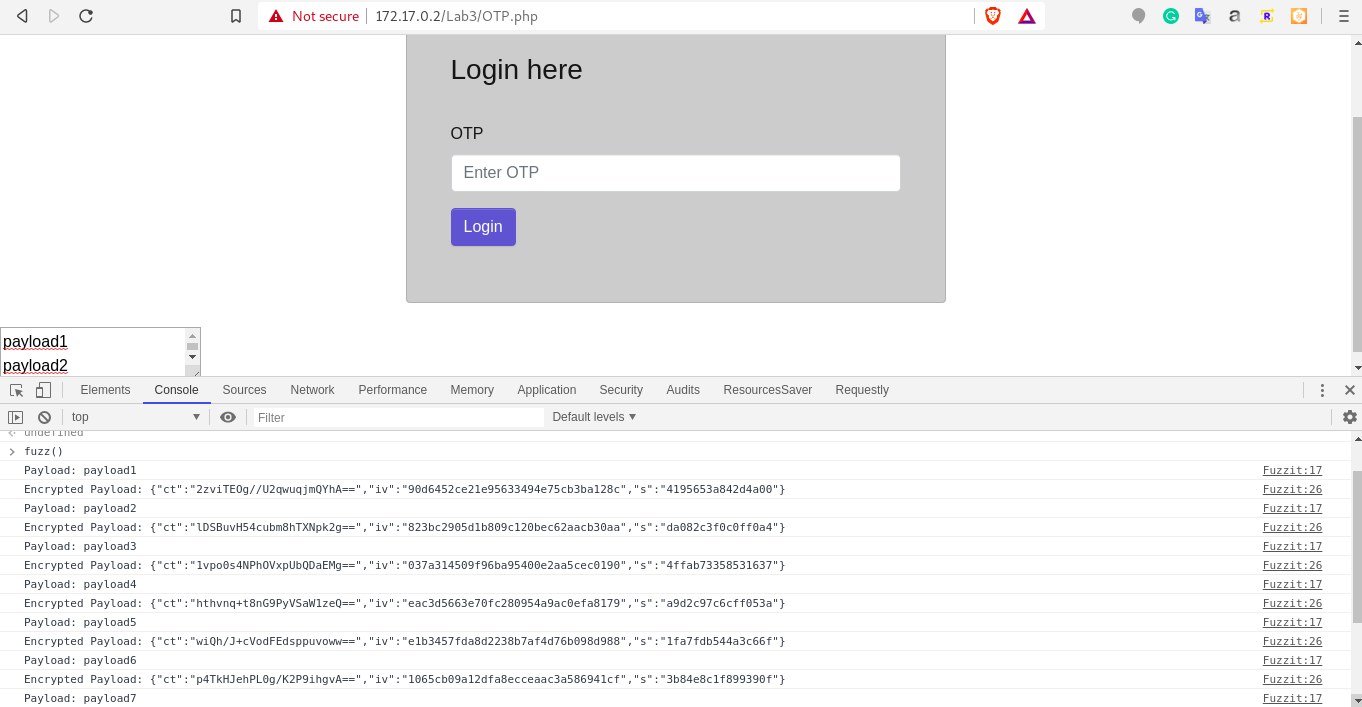
-
Fuzzing starts and we will get responses once the fuzzing is completed.

Conclusion:
This blog was to create a logic to fuzz encrypted request parameters using the snippet feature of devtool. The real world of encryption gets more complicated and this is just one example, and on top of that automation can be time-cosuming and difficult at times. However, real fun lies in the use of developer tools in order to the encryption logic using the application’s logic.:))
I enjoyed writing this article and hope that you enjoyed reading it too.
Thank you for your time and stay tuned for more!
Please do share your feedbacks.
You can find me here:
Twitter : @sameer_bhatt5
Github : bhattsameer
LinkedIn: bhatt-sameer
![]()
Reference:
https://blittle.github.io/chrome-dev-tools/
https://javascript.info
https://developers.google.com/web/tools/chrome-devtools
https://medium.com/frontmen/art-of-debugging-with-chrome-devtools-ab7b5fd8e0b4
Thanks to:
Whyte
Jagdish jogal
Jaimin Gohel
Net-Square
![]()